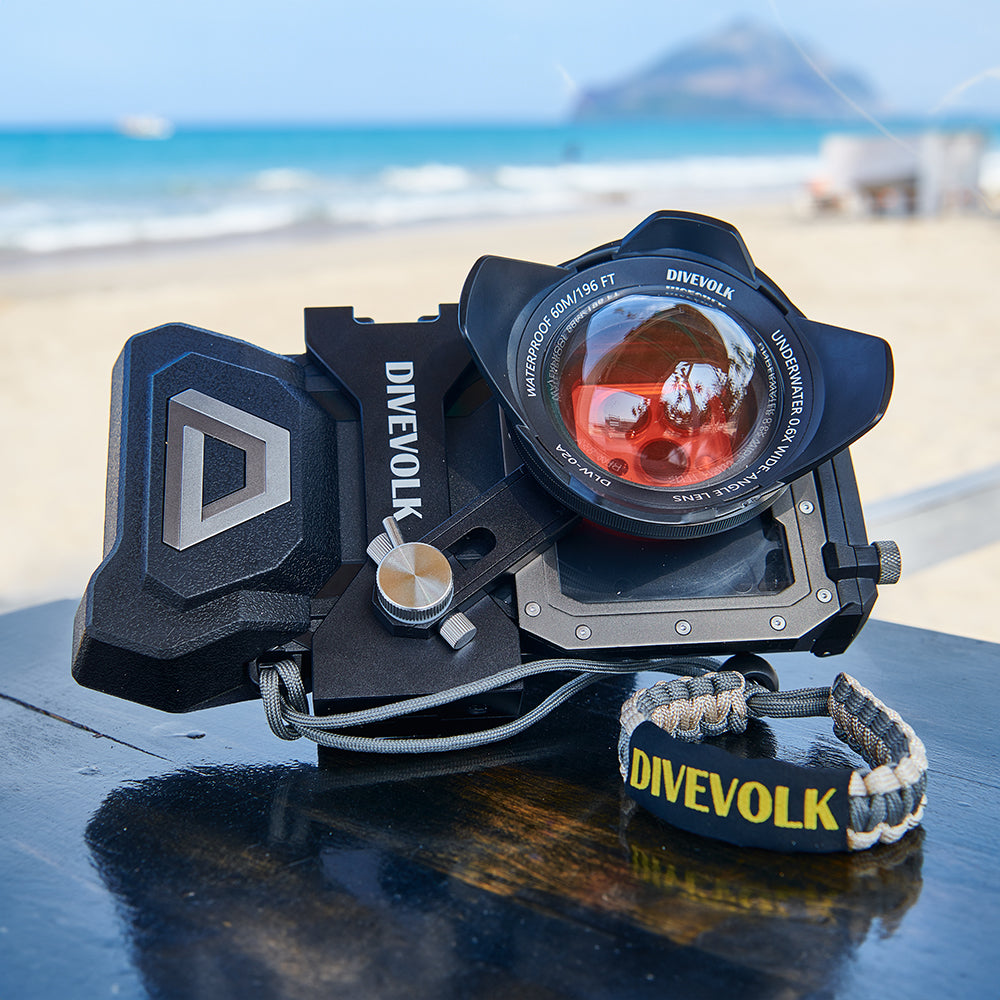
How to set up your Divevolk Housing
Barry NealShare
How to set up your Divevolk SeaTouch 4 Housing
Divevolk housings are easy to set up in as little as 10 minutes. Even though its quick, be sure to do it properly to give you a smooth dive and the housing a long life. These steps apply equally to the SeaTouch 4 Max, SeaTouch 4 Max Plus and SeaTouch 4 Max Platinum Housings.
STEP 1: Prep your phone.
- First, make sure all of the recommend phone settings have all been set, including Assistive Touch, Raise to Wake, and Max Brightness. For a full list of recommended settings, click here.
- Also check your phone is fully (or mostly) charged! You don’t want the battery to die mid-dive.
- Remove the screen protector, as this allows the touchscreen gel membrane to smoothly interact with your phone’s screen.
- Finally, ensure the phone is free of any dust or dirt.
STEP 2: Inserting the Phone.
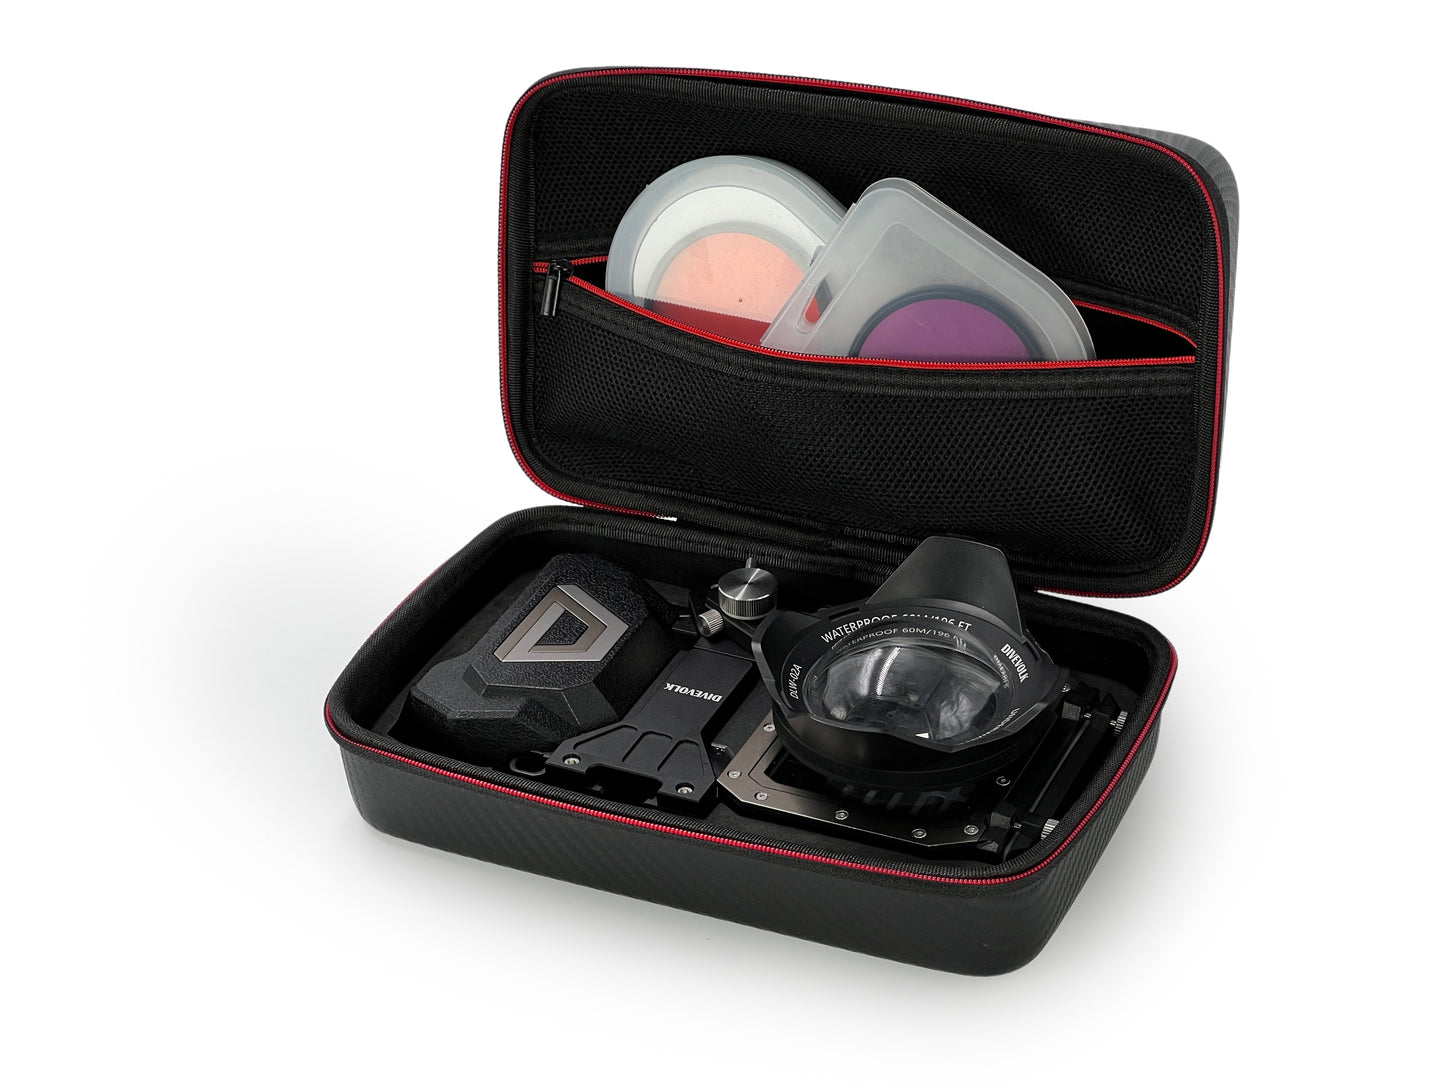
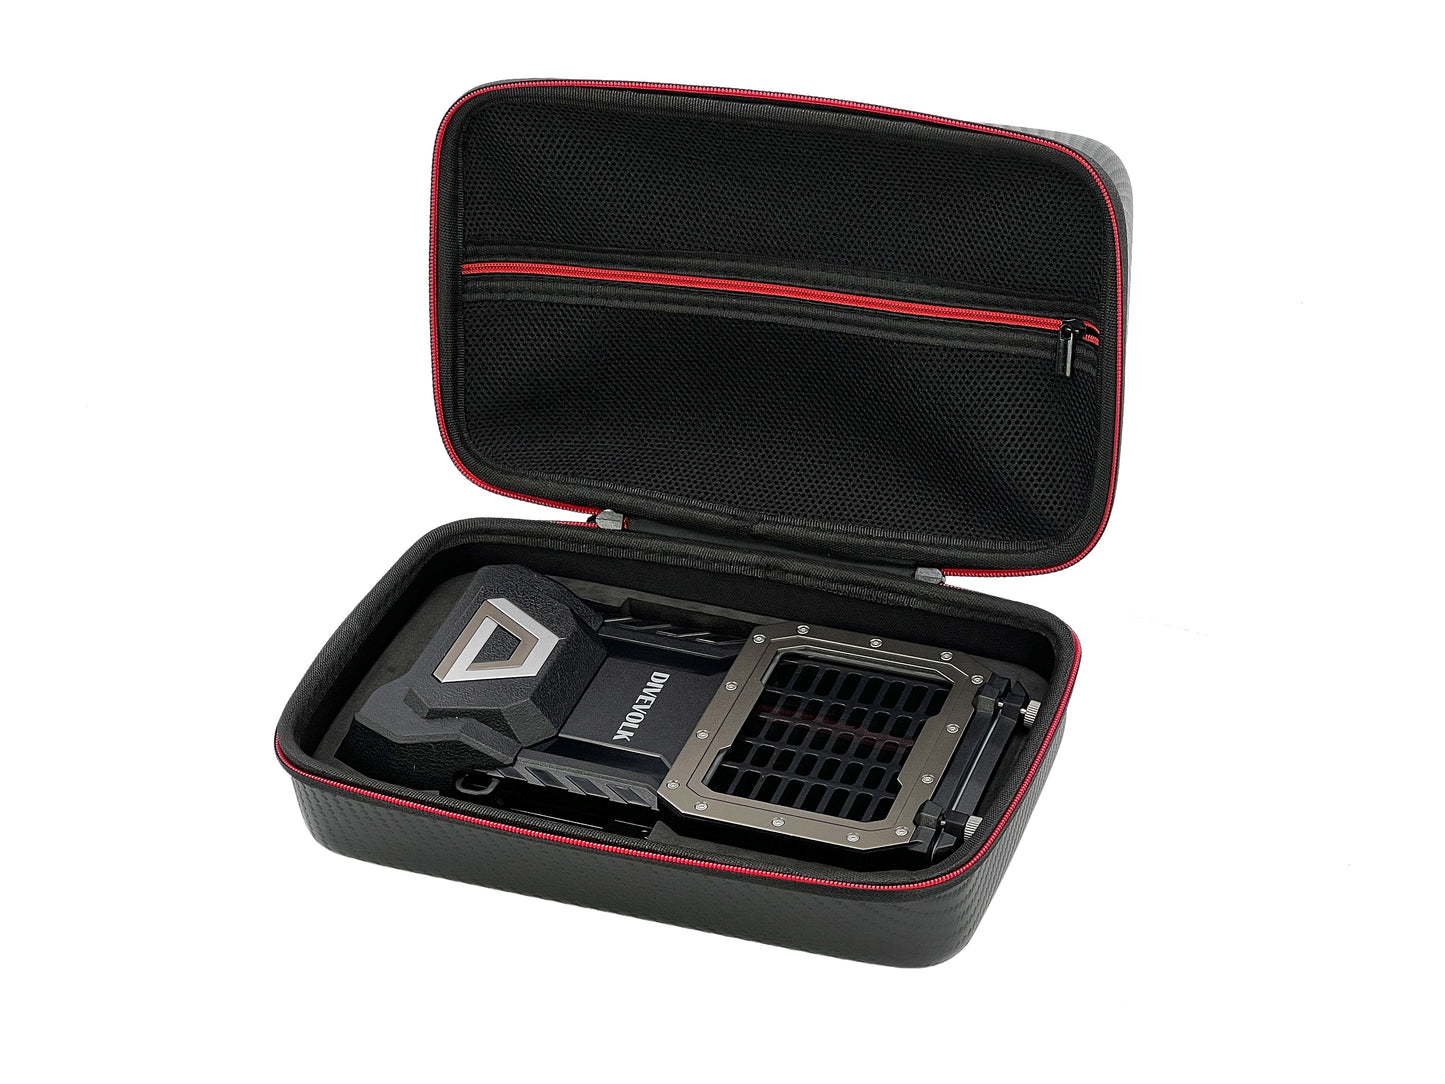
- First, remove the storage insert from the housing.
- Place your phone inside the tray, making sure it is the appropriate way up and slide the phone and tray into the housing. Double check that you are using the correct tray for your phone.
- When doing this step, it is important that you are in an environment free of any water or damp that may get into the housing. We recommend doing this away from the dive deck. If even the smallest bit of water gets into the housing, it can cause fogging.
- Check the seals on the housing for any sand, hairs, etc, that may impact the seal. Wiping the seal with a microfibre cloth will do the trick.
- Close the door firmly. Give each bolt a couple turns to ensure the position of the door is correct, and then screw them each tightly in to ensure a complete seal.
- Now inspect the area around the seal to make sure that there are no hairs or anything else sticking out of the door.
STEP 3: Attach your accessories
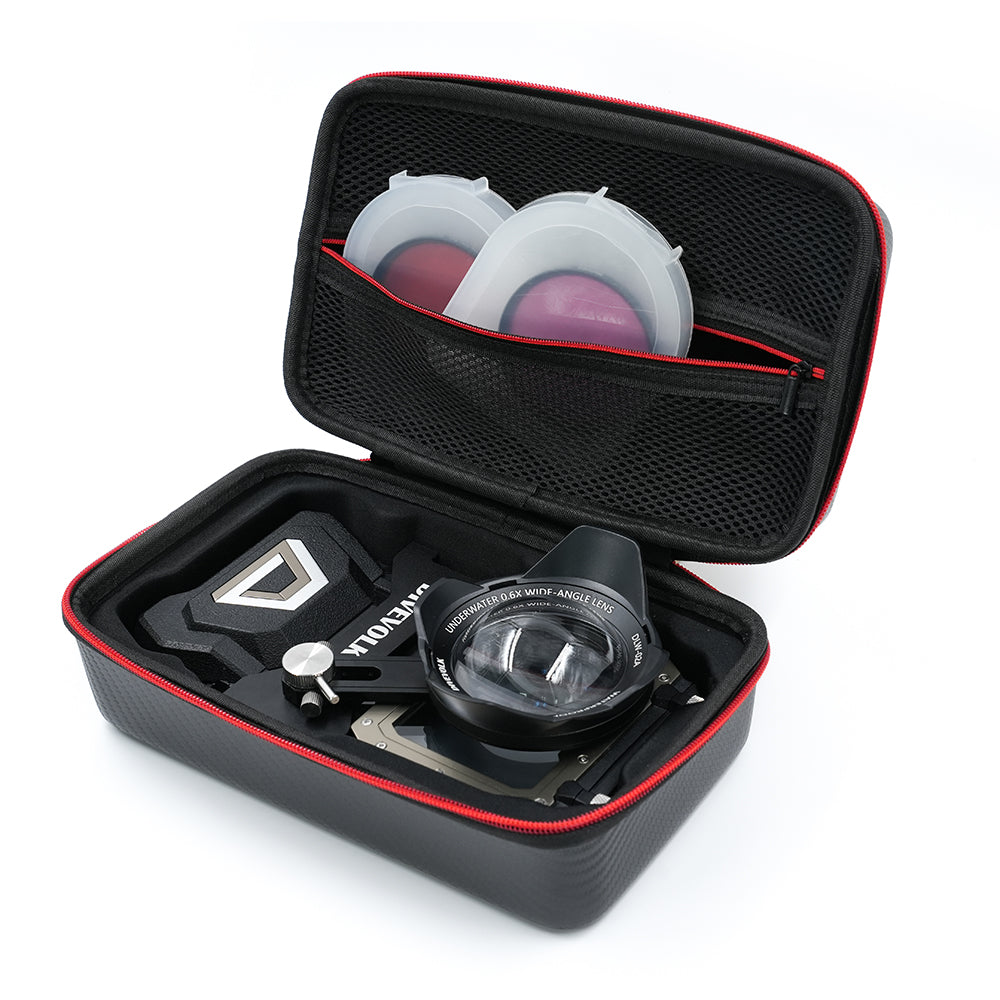
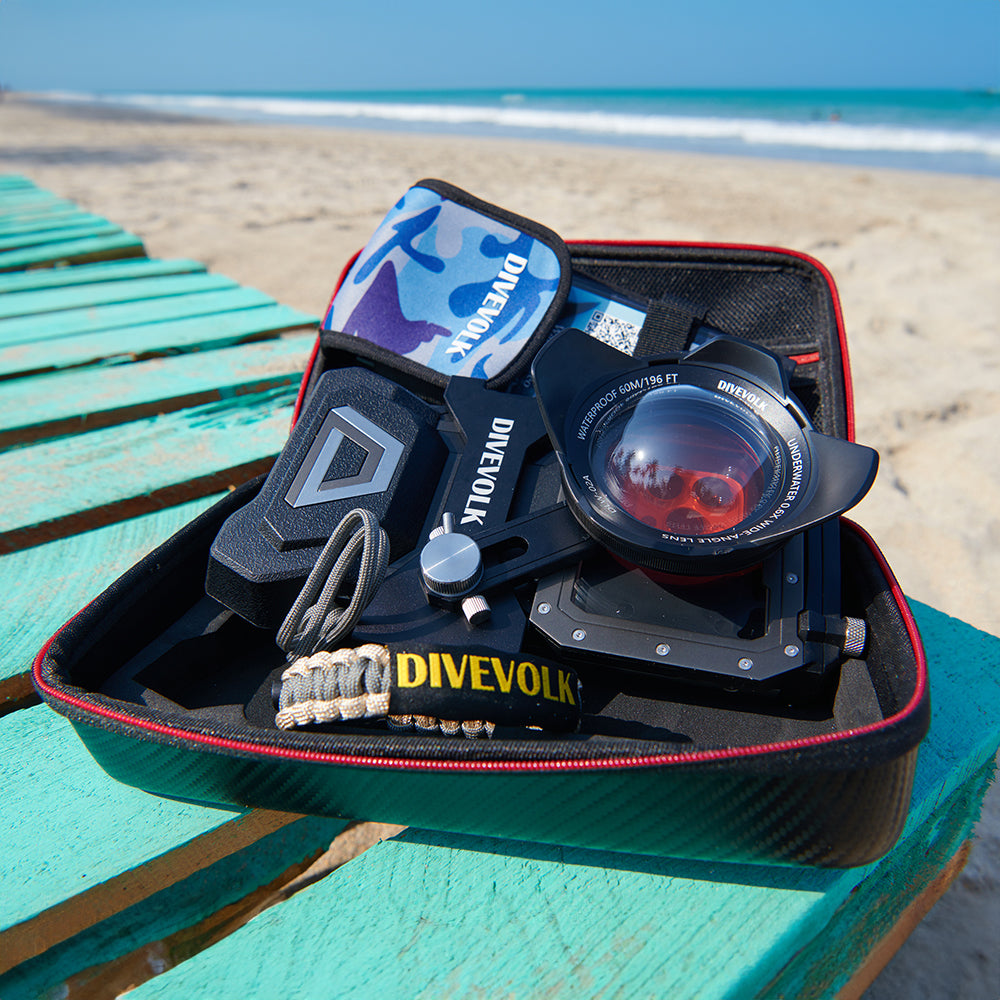
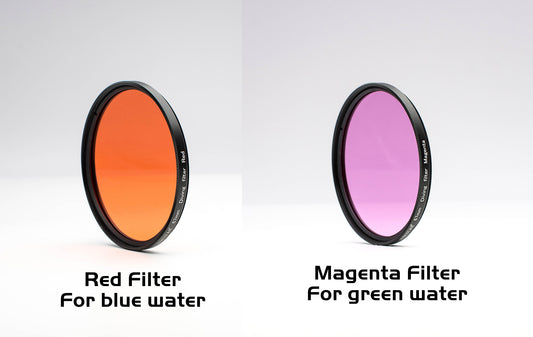
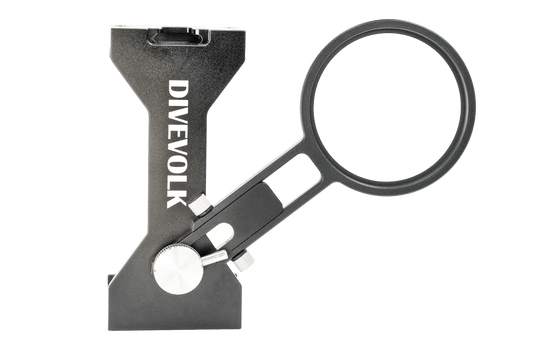
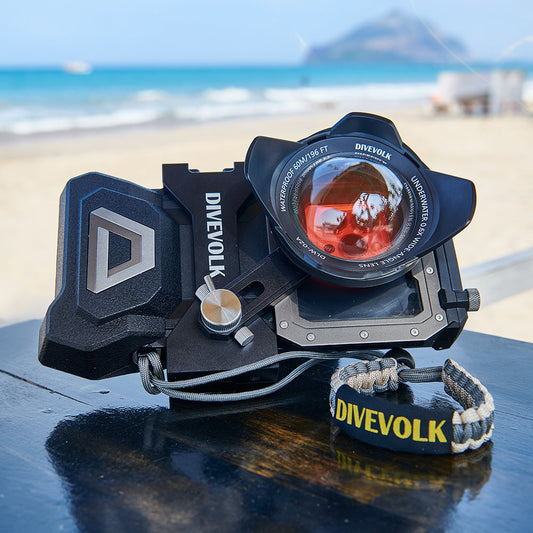
- Now attached any of your accessories to the housing (i.e. filters, lenses) and ensure they are in the correct position. See our list of recommended accessories here.
- You will want to do this before getting into the water, as its not easy to do while bobbing in sea!
- Check the camera to make sure the filters and lenses are aligned properly with the camera lens and are not blocking it. This may take some adjusting.
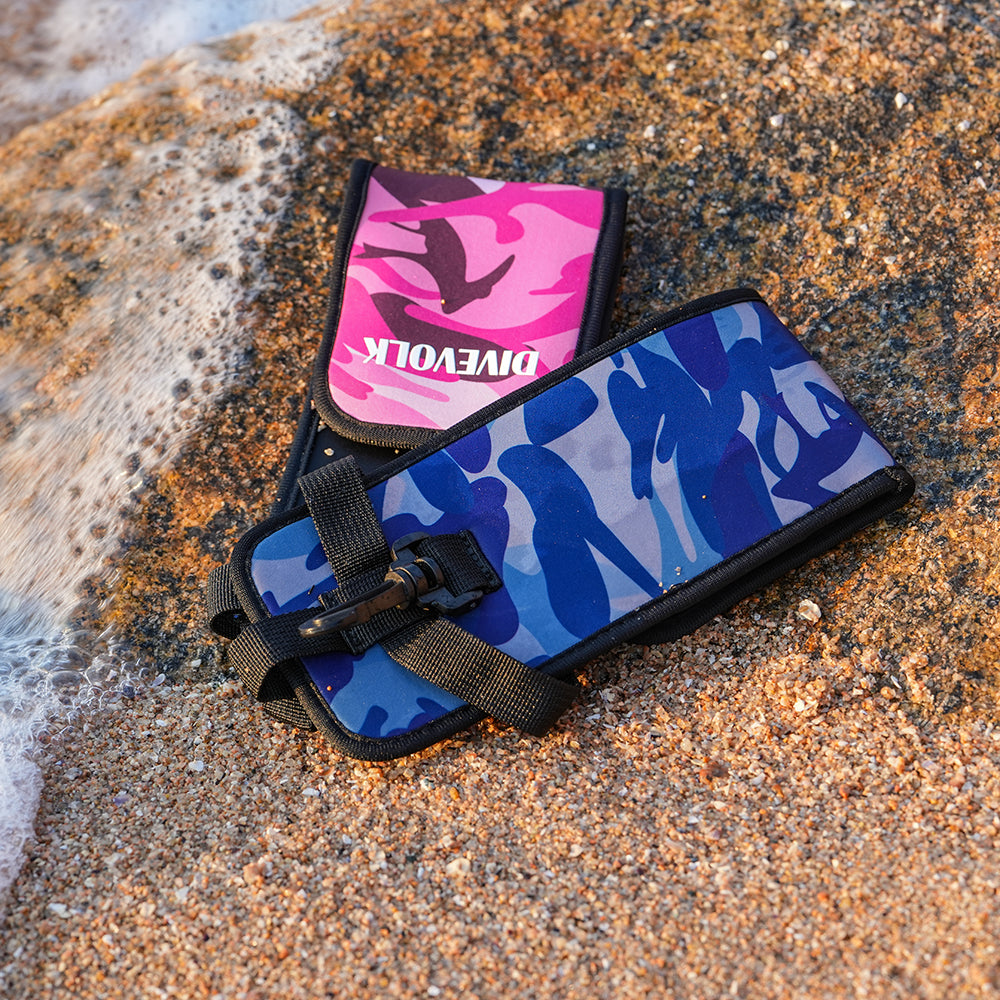
- Once everything is in the right spot, place the lens covers over the lens to keep them from getting scratched as you prep the rest of your dive kit.
STEP 4: Bubble Test
- This is one of the most important steps! After you have completed assembly, if there is a spare bucket of water around place the housing into it.
- If there’s no bucket, once you get into the water, place your housing underneath the water, and tuck your head under to watch for bubbles.
- You may initially see a couple of bubbles, but if they keep coming, that means the seal is not complete and the housing may be flooding. If so, remove it from the water immediately and do not take it on your dive!
STEP 5: Enjoy your dive!
- If you are using lenses, remove the lens protectors in the water, and keep the straps wrapped around your wrist during the dive. You can also put them in your BCD pocket, but they sometimes get lost this way.
- Put the lens protectors back on the lenses once you return to the surface, and importantly before passing your camera up to the boat. Failure to do so may result in scratches!
STEP 6: Surface interval
- If you have a surface interval between dives, do not take the phone out of the housing, as water can enter the housing.
- Wrap it in a microfibre towel to protect it from any damage and keep it out of direct sunlight to keep it cool.
Step 7: Rinsing
-
After the dive, find a bucket of fresh water to rinse your housing in. Make sure the protective bag and lens covers are on before putting in into the bucket.
- While its under the water, move any clips / clamp screws on your housing (Not the screws holding the door shut!) to dislodge any salt.
- This step helps clean it of any corrosive ocean salt that can damage the housing over time.
- Don’t leave it in there unattended if it is a communal dunk bucket, as others may put their gear in there scratching your lens or damaging the gel membrane!
- Top tip: After removing, dry the lenses with a microfibre cloth to keep them free of any water spots.
Step 8: Removal
- Its tempting to remove your phone from the housing straight after the dive, but wait to do so until the housing is mostly dry and you are in a dry area (i.e. not on the dive deck!). This will prevent any water getting inside the housing.
- Importantly, make sure you are also dry, as any drips from you or your wetsuit may land inside the housing.
- Unscrew the screws, pull out the tray, and remove your phone.
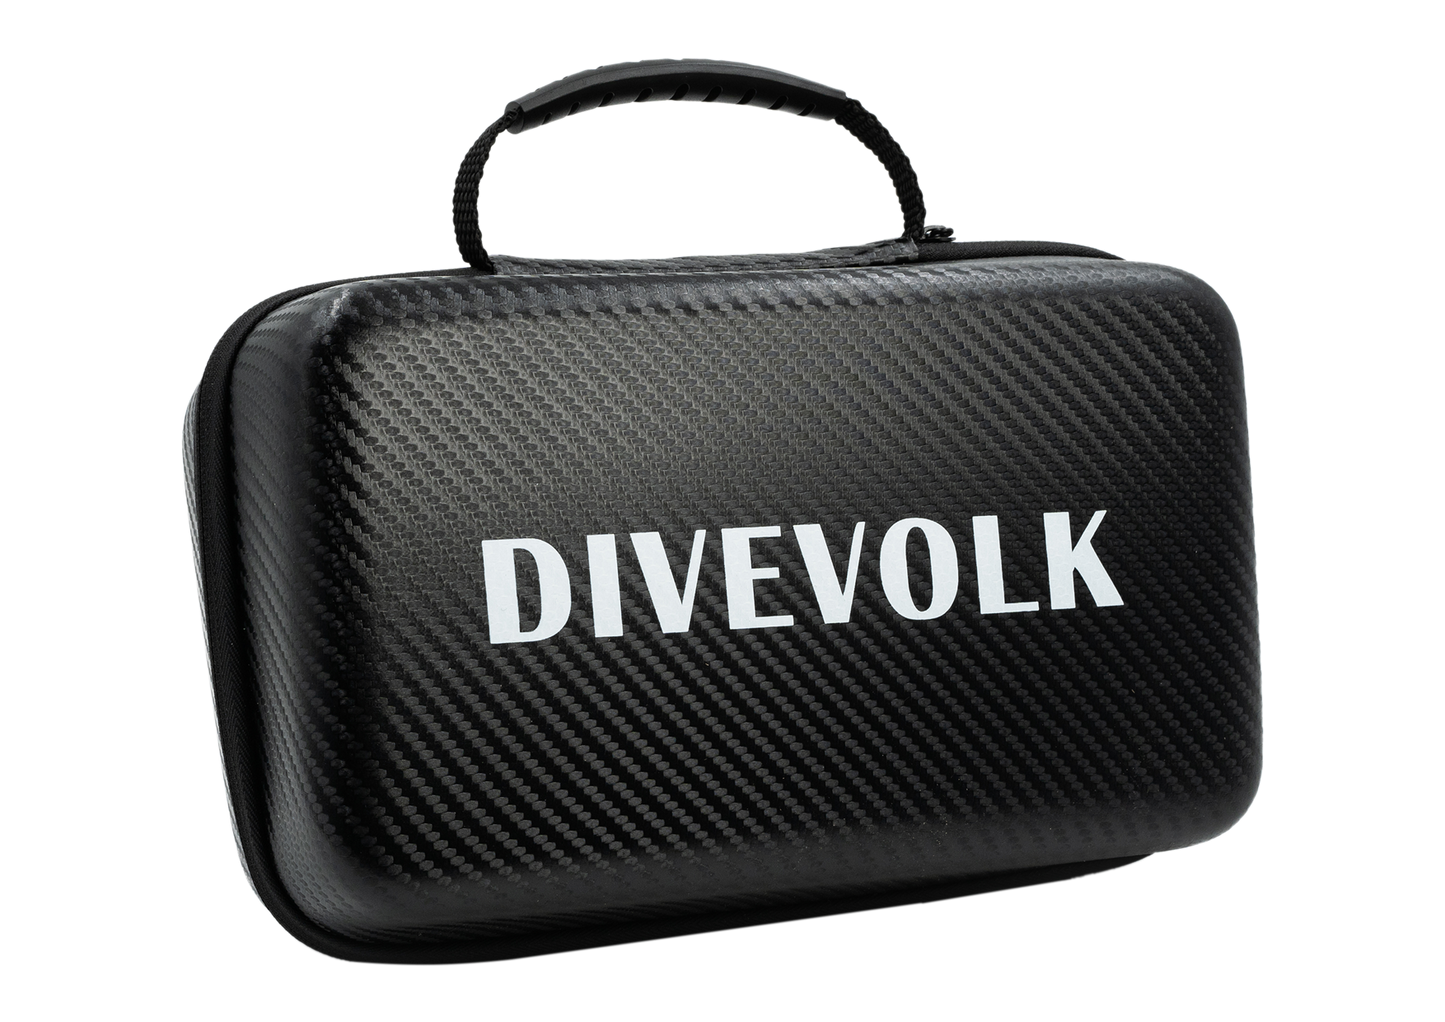
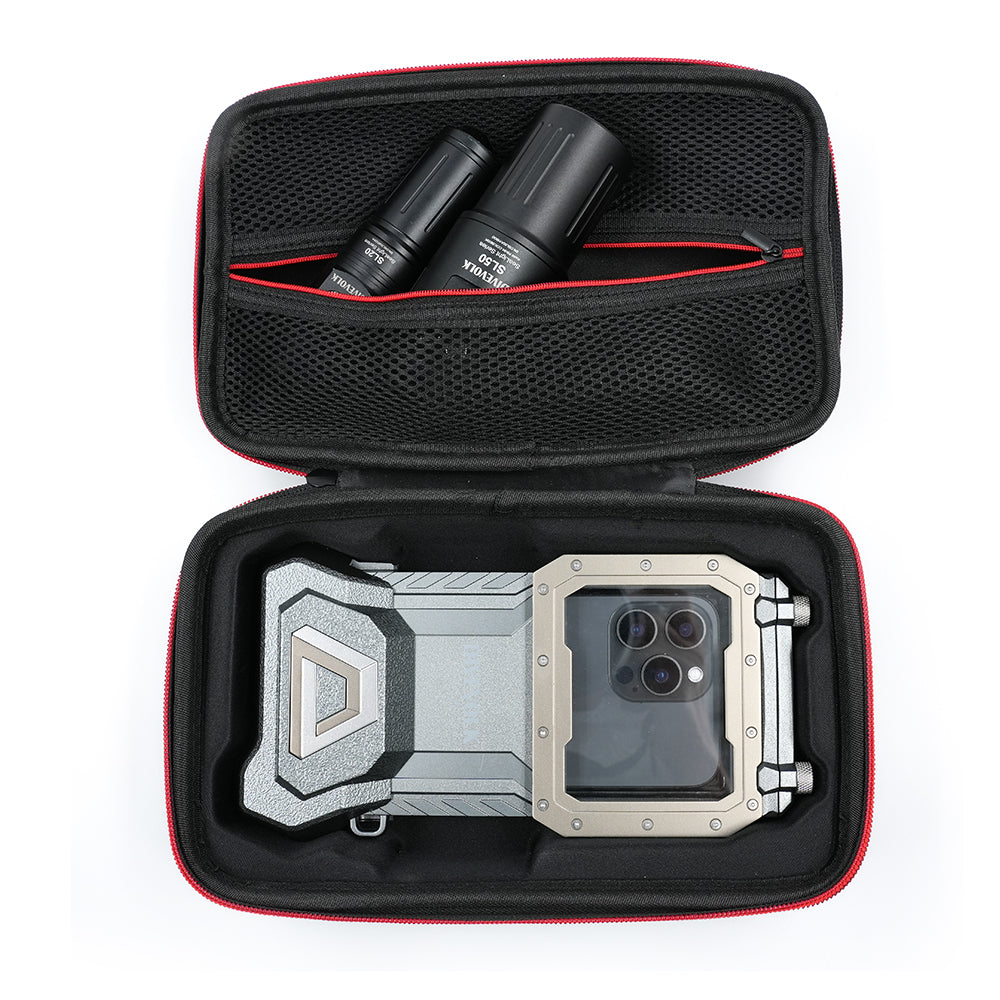
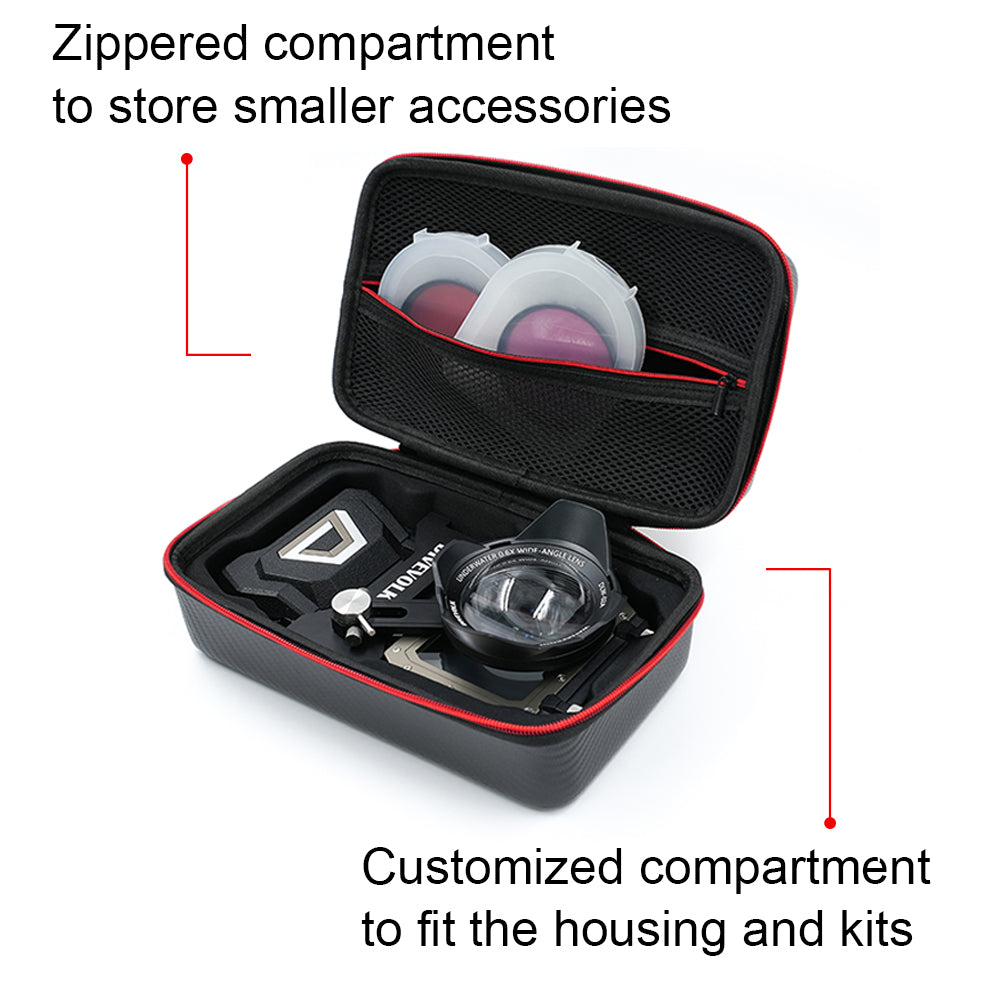
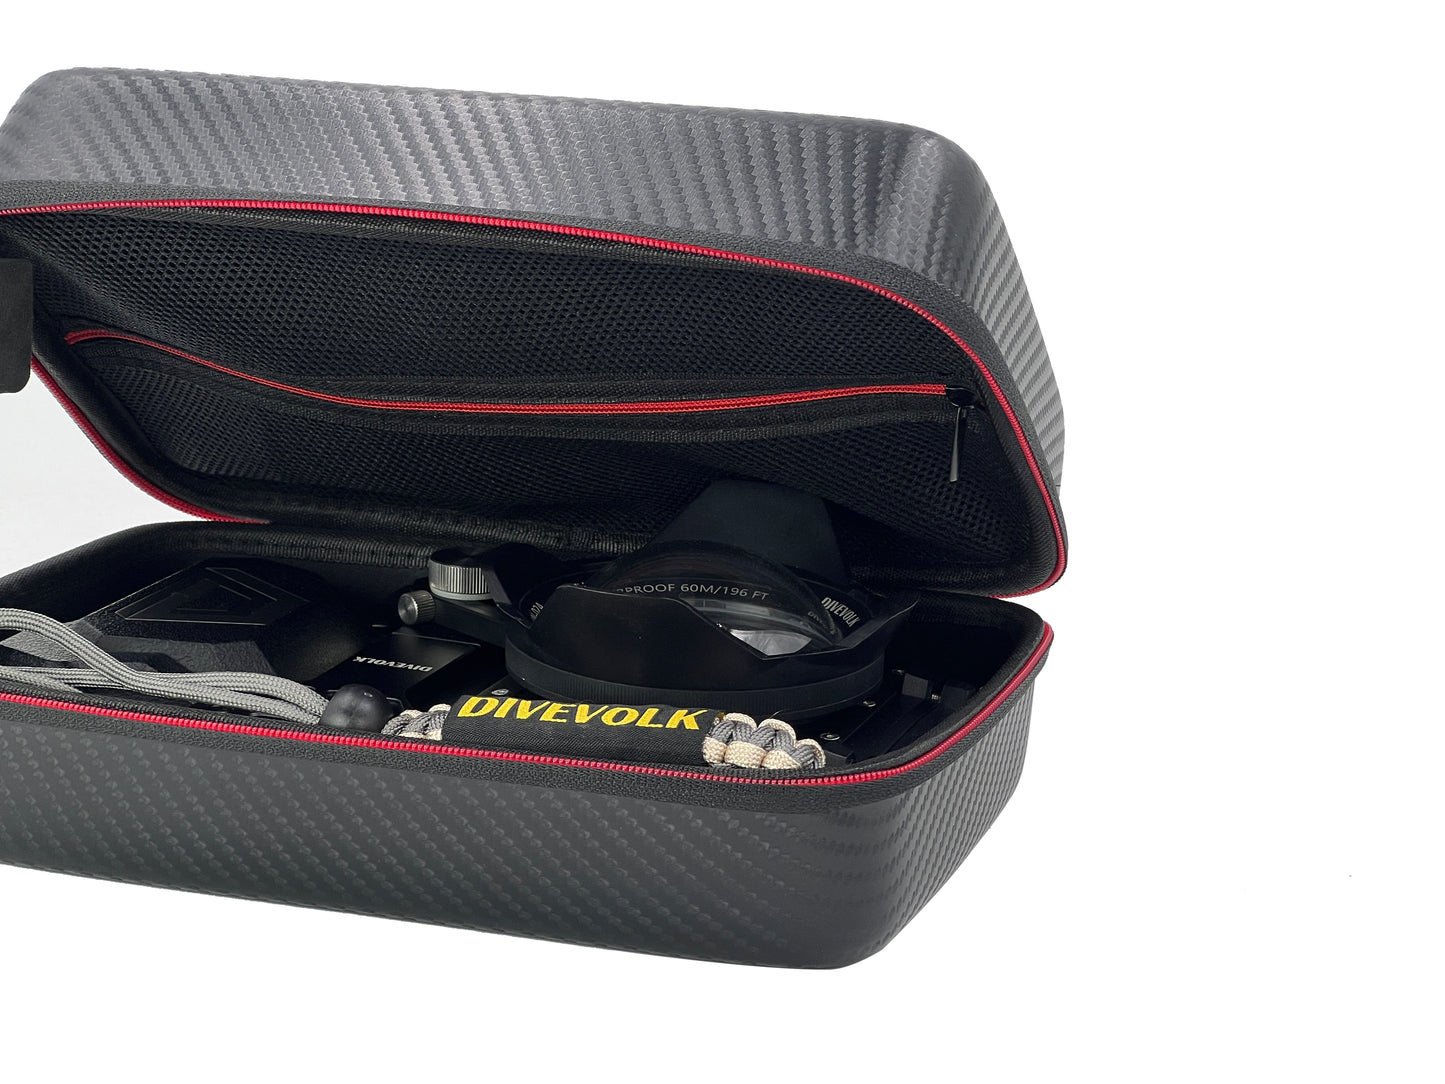
- Place the storage insert back into the housing. Its very important to store the housing with this insert to stop the gel membrane from puncturing. See “Traveling with your Divevolk housing” for more tips on how to travel and store your housing.
Step 9: Enjoy your photos!
- We’d love to see your adventures, so please tag us in your photos and videos @lightbalance.co.uk
Top Tip: After you’ve returned from your holiday, or if you don’t expect to be diving for some time, soak your Divevolk housing (with the door sealed) and accessories in fresh water for at least 30 minutes (a sink or a bathtub is perfect). Occasionally wiggle any clips or clamp screws to dislodge any salt. Think of this as a “deep clean” to ensure its free of any ocean salt!


